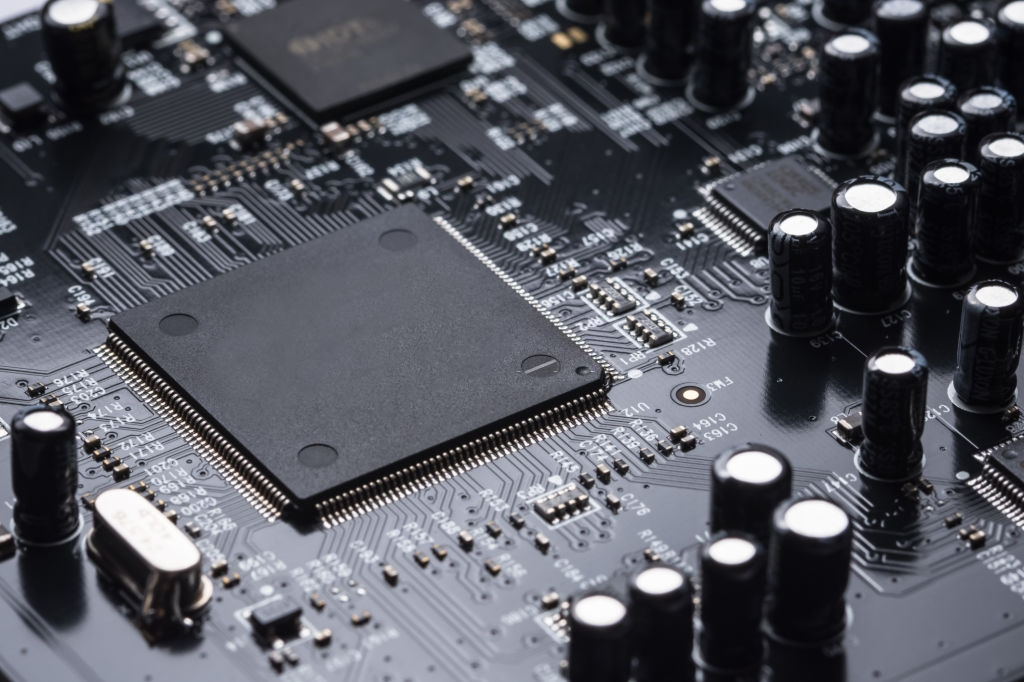
Are you working on your PC and suddenly something is wrong? The first reaction is often panic but, if you analyze it carefully, you will realize that it could be a motherboard problem, an extremely delicate and sensitive element that determines the correct functioning of the computer. The cause of the failure is to be found in its electronic capacitors which happen to swell or burst due to too much heat.
Let’s try to understand how to replace these electrolytic capacitors.
First of all, you need:
Hot air gun
Small pliers
Screwdriver with a tip of about 0.9mm or less
Fine tip micro welder
Tin wire
Obviously it is necessary to identify which condensers also have slight swelling, noting the technical data such as capacity, maximum operating voltage and operating temperature limit.
This will serve to look for new capacitors that have the same characteristics ensuring that they are of low equivalent resistance, i.e. done to filter the high frequencies present in the computer’s power lines.
Executed this step you can proceed with the laptop Motherboard repair
So we seek the pin positions of the various capacitors to be replaced on the other side of the card (this type of procedure applies only with capacitors via mounting pin and not superficial). We then find a convenient position to be able to carefully remove the elements using the pliers and, at the same time, point the hot air gun on the pins.
With pliers, tighten the capacitor to be replaced by pressing on the surface of the motherboard in order to keep it pulled. This procedure requires particular delicacy and care in order not to damage any component. The card must be kept in a vertical position while the area in which the condenser pins are present is heated with the hot air bed.
It should take a few seconds to disconnect the condenser, but before continuing it is important to remember to wait for the part to cool down to avoid errors.
Once all the capacitors have been removed, you can move on to the next phase, that is, check that the holes where the capacitors were positioned are free of the tin so that you can insert the new ones easily. In the event that this is not possible, use the tip screwdriver to clean the hole.
Once this is done, the moment of welding has arrived. Very carefully we take a new capacitor and insert it in the holes of the old one keeping in mind to respect the correct polarity. The advice is to choose a precise and handy micro welder that is able to perform the job quickly and effortlessly. So to expect that it is hot and bring the tip closer to the tin wire that you will have placed on the part to be worked. At this point, proceed to solder both pins of the capacitor.
This procedure requires great manual skills so as to avoid smudging and make sure that the tin welds well.
Now you just have to try it!
